<html><head><meta http-equiv="Content-Type" content="text/html; charset=windows-1253"><title></title><style></style></head><body><h4>
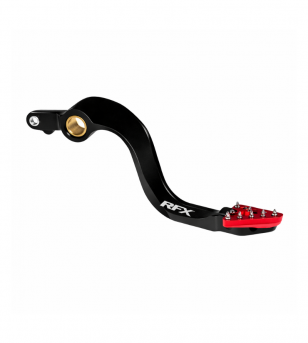
RFX Pro Series Brake Pedals are designed and tested at the
highest level.</h4><div>
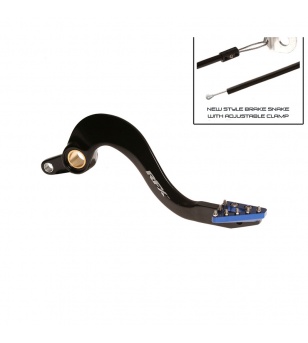
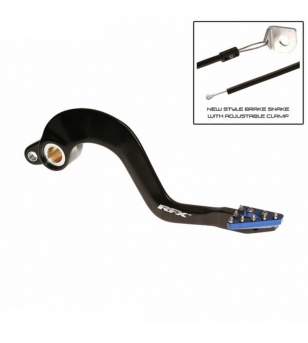
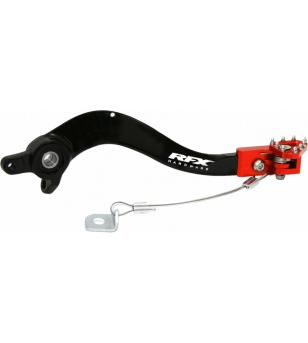
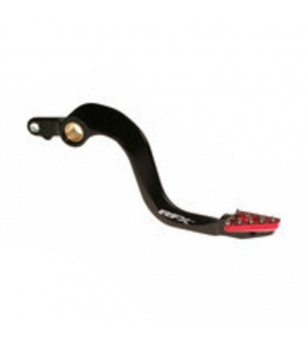
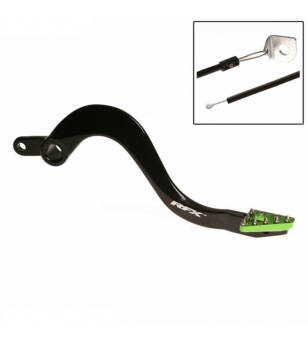
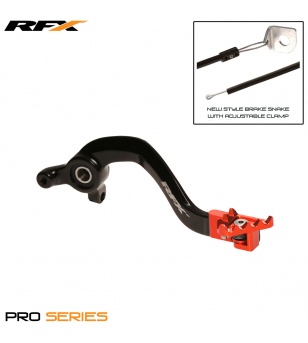
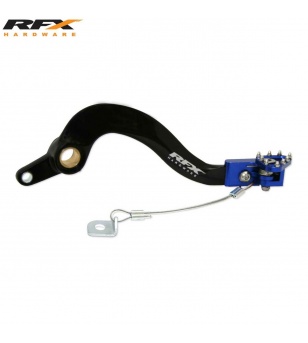
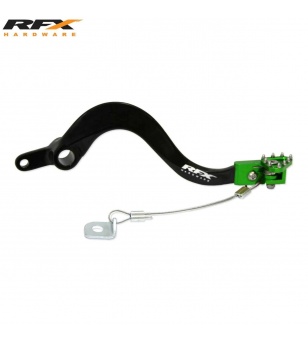
<br></div><font face="Times New Roman"><div>Pro Series Brake Pedals are manufactured from 7075-T6
aluminium and feature an OEM type forged shaft, a smooth finish on the shaft
helps to reduce the wear associated with a ridged design. </div><div>
<br></div><div style="margin: 0cm 0cm 8pt;">Pro Series Flexible tips are CNC machined billet aluminium
and feature a spring loaded rotatable tip which under impact such as in a rut
will spin to reduce damage. The tip also features steel teeth to help grip in
muddy conditions.</div><div>
</div><div style="margin: 0cm 0cm 8pt;">Pro Series Flexible tips also incorporate a stop on the
pivot tip, this stops the tip at 90 degrees of rotation preventing damage that
can occur if the tip rotates under the clutch cover.</div><div>
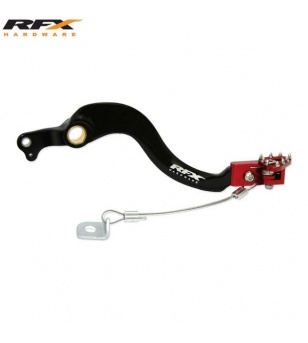
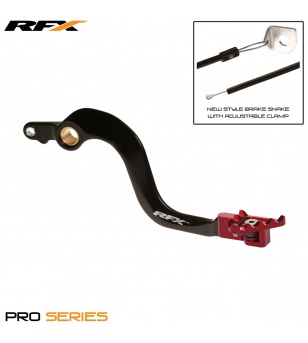
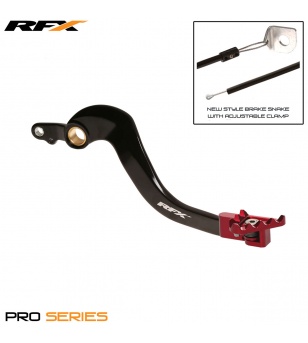
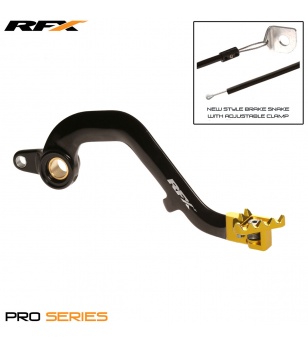
</div><div style="margin: 0cm 0cm 8pt;">Pro Series Brake Pedals also incorporate a cable brake
snake, this helps prevent the pedal shaft being bent around in a collision.</div><div style="margin: 0cm 0cm 8pt;">
</div><p style="margin: 0cm 0cm 8pt;"><b>Features:</b></p><div style="margin: 0cm 0cm 8pt;"><ul><li><div style="margin: 0cm 0cm 8pt;">New 7075-T6 Billet solid tip, with flow design.</div></li><li><div style="margin: 0cm 0cm 8pt;">New 2 position adjustability on tip.</div></li><li><div style="margin: 0cm 0cm 8pt;">New optional Hard Anodized tip version available for current models.</div></li></ul></div><div style="margin: 0cm 0cm 8pt;"><h4>Fitting Instructions: </h4><ul><li>Start by taking note mark where the height if the pedal tip is in relation to the footpeg. </li><li>Remove the R-clip or split pin from the rear of the brake bolt located behind the frame. </li><li>Remove the pivot bolt holding the pedal to the frame. </li><li>Detach the return spring from the pedal and leave hanging. </li><li>Spin the pedal outwards exposing the split pin at the rear of the pedal clevis. </li><li>Remove this split pin and the locating dowel, the rear brake pedal will now remove. </li><li>Remove the oil seals from the old pedal clean and re-fit to the new pedal. </li><li>Clean all the parts with a multi-purpose lube such as maxima MPPL, ready for re-installing. </li><li>Re- fit the Brake clevis, Locating pin and split pin. </li><li>Re-Fit the return spring. </li><li>Apply some Maxima waterproof grease to the pivot bolt align the pivot hole and re-fit the bolt. </li><li>Torque the pivot bolt to the required torque as per the owner’s manual. </li><li>Re-fit the R-clip/Split pin to the rear of the pivot bolt. </li><li>With the pedal now attached adjust the pedal height to the correct position and free play, do this by loosening the nut above the clevis and turning the plunger bolt inwards or outwards to suit. </li><li>Now fit the brake snake. </li><li>Japanese models- Remove the lower engine mount nut and washer, replace the old washer with the new washer which is attached to the brake snake. </li><li>KTM models- Remove the new washer which is attached to the brake snake, put this aside as it’s not required on the KTM, loop the cable around the lower engine mount and replace inside the crimp fitting. </li><li>Set the correct tension on the brake snake, remembering to allow for the pedal to extend down. </li><li>Crimp the fitting together using pliers and trim excess cable.</li></ul></div><ul><li><div style="margin: 0cm 0cm 8pt;">New style brake snake with adjustable clamp.</div></li><li><div style="margin: 0cm 0cm 8pt;">New Hard anodized black shaft to prevent corrosion and reduce wear.</div></li><li><div style="margin: 0cm 0cm 8pt;">Replaceable Stainless Steel teeth for increased grip.</div></li><li><div style="margin: 0cm 0cm 8pt;">Supplied complete with bearings and bushes for selected models.</div></li><li><div style="margin: 0cm 0cm 8pt;">Laser etched logo.</div></li></ul></font></body></html>
Price
€86.00